- Pitching Draw Your Sword
As of this week our magnum opus, Draw Your Sword, is ready to pitch to publishers. If it doesn’t get picked up by a publisher, then we may go for the self-publishing route.
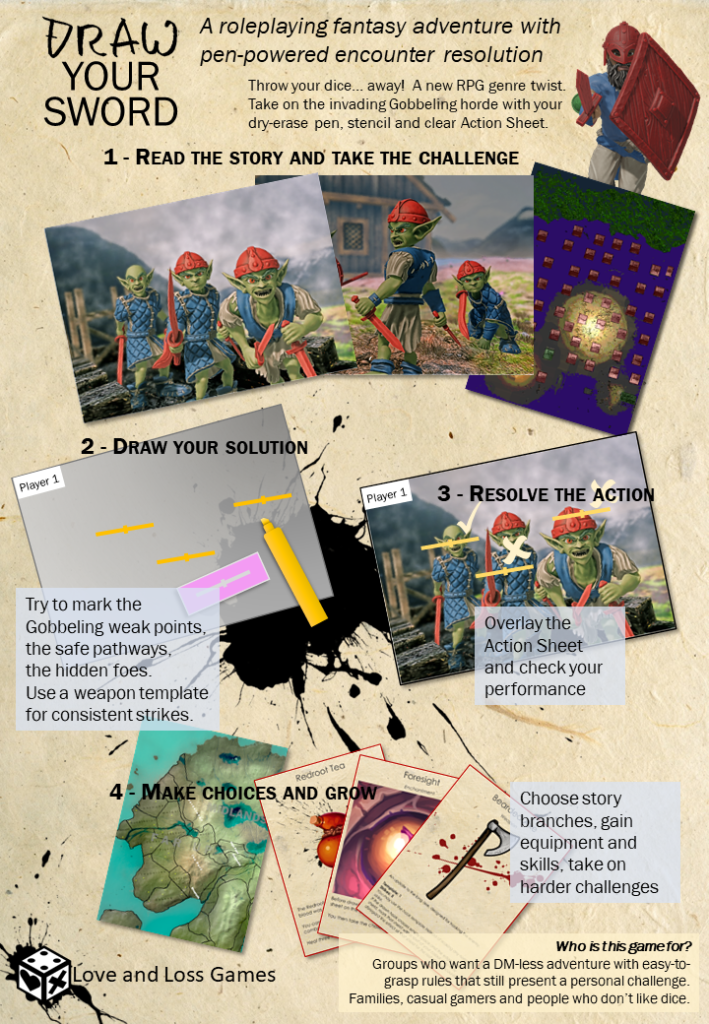
The sell-sheet for Draw Your Sword There are two videos, which are on Youtube. I won’t embed them here to avoid surprising you with 3rd party cookies. Here are the links:
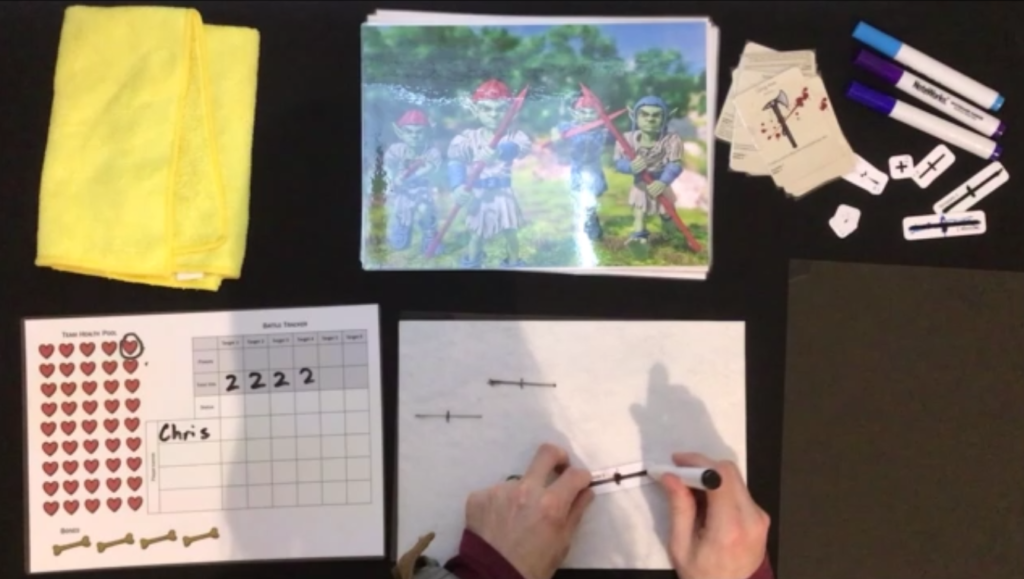
A still from the game-play segment, showing what the game looks like on the table.
- Mapping, planning and finding my look
Going solo on an adventure game like Project-DS has some disadvantages. The biggest one is working on everything at once.
- Art style
- Image composition
- World map
- Individual adventures
- Overarching story
- History of the world
Each of these informs the other, sometimes one part is blocked because another has not been decided yet. I’m happy to say that the map is final and the story points are starting to find their homes. I spent ages trying to do this in software and ended up co-opting the door.
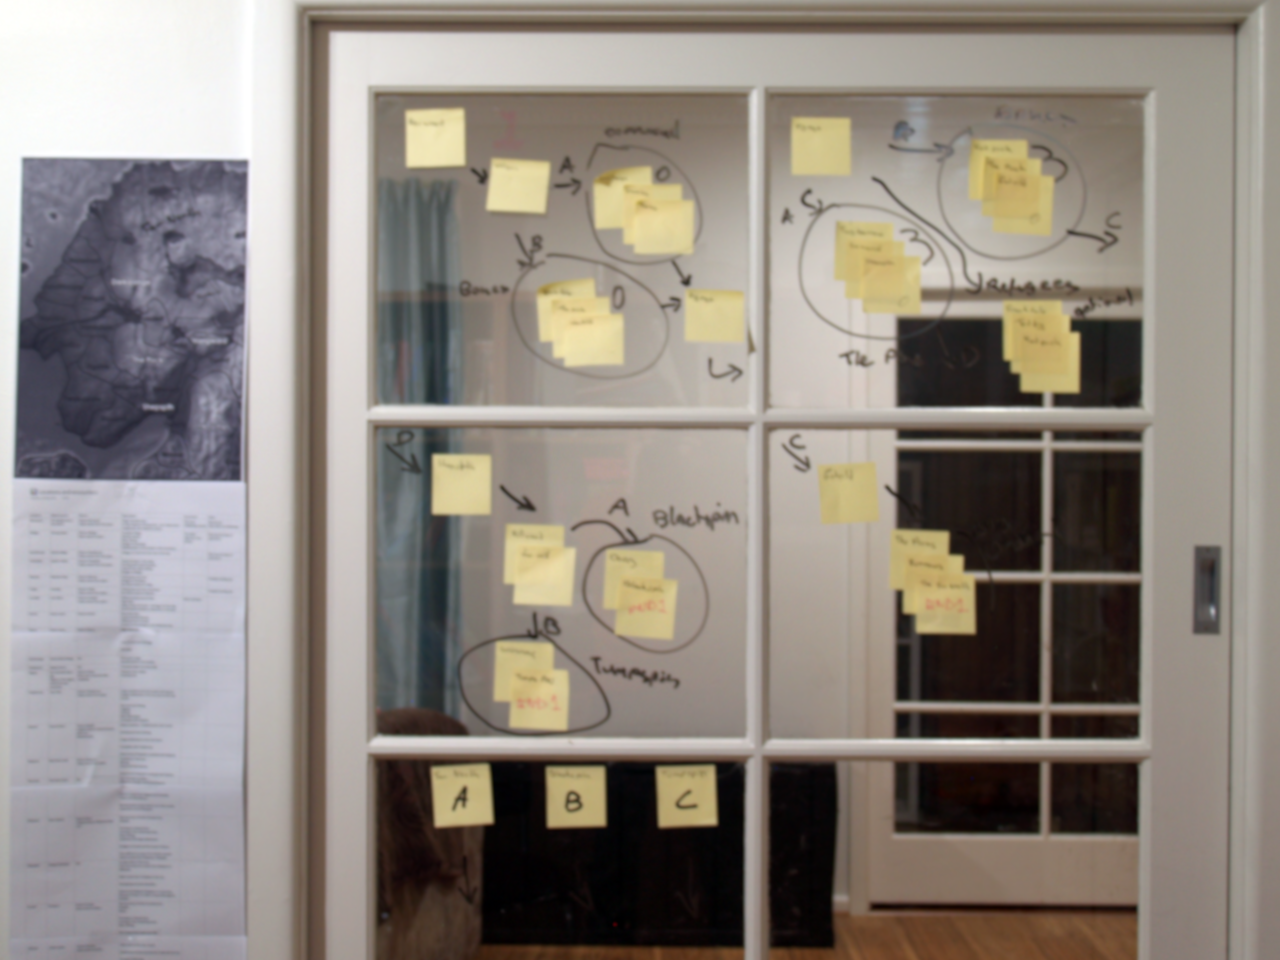
Planning something huge when your monitor is just not big enough.
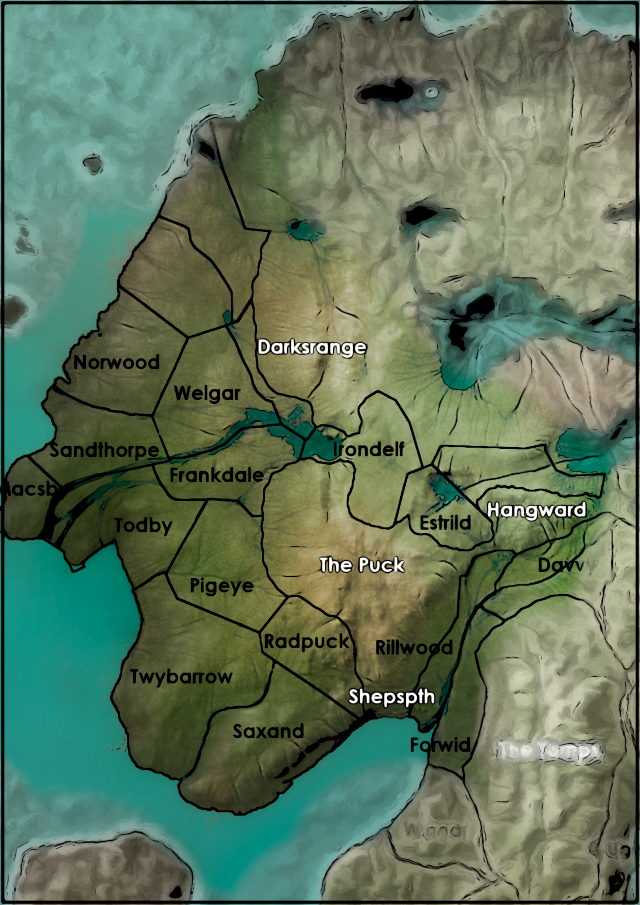
The area of Wymol known as ‘Far Up’ The first couple of chapters start here. After which, the story moves to one of the two peninsulas; Tumpspin and Blackspin or into the Far North.
There’s lots of fantasy mapping software on the market. I wanted to make it a real map first and a fantasy map second.
The Wymol map has been built in Genbrush using wind and rainfall simulation to create the lakes and rivers. It’s come together naturally to feel authentic and lived-in.
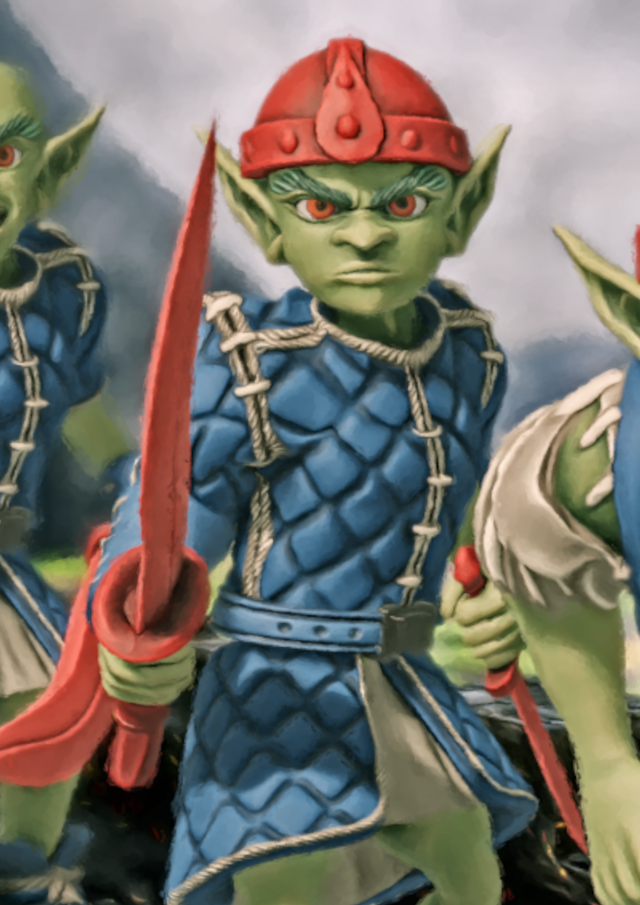
I’ve also found the right post-processing to make the rendered scenes pop.
This painterly effect blends the characters into the scenery a lot more effectively.
The effect also fits well with the painterly texturing that Josh O’Hala has done on the models, effectively applying the same look to the scenic elements.

And finally, as a visual person I needed to put some faces to the names for my characters. I’ve started some biographies and it didn’t feel right with just the text.
Artbreeder has rescued me. I’ve generated a bunch of faces for the project. While these images may not be final, I can now put a face to the names.
Artbreeder has even put a little random personality into each one too; smiling, frowning, etc. That’s been enough for me to add colour to the profile.
- Official Teaser for Project-DS
It has been a long time between posts here. We’ve been working with artists on the designs for Project-DS. This may be our magnum opus.
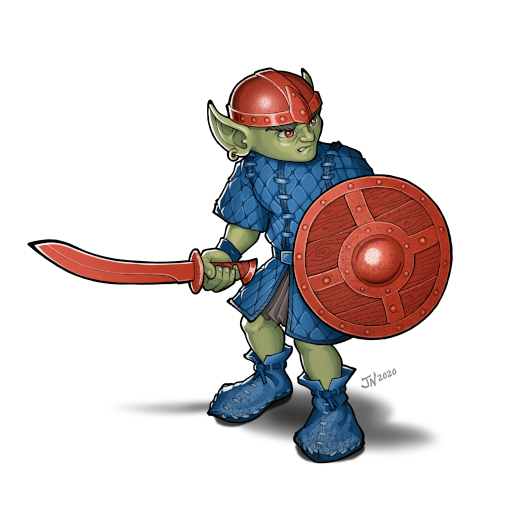
Project-DS will be a DM-less branching adventure in same setting as our one-page RPG Wyrmbones: The Border. Experience three generations of the second gobbeling war on the island of opportunity; Wymol.
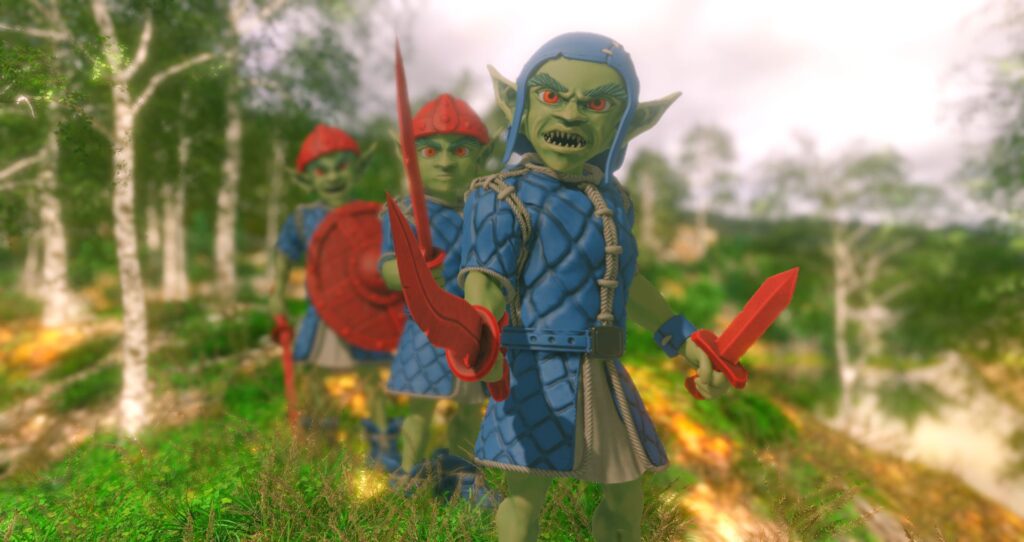
Charlie’s picnic was not going well. - Shall I tell you a story?
We’ve added another game inspired by the One-page RPG jam to our stable.
Still in draft, but definitely playable now: Snakes & Ladders Stories.
It’s free, so take a look. You will need some Story Cubes and a Snakes & Ladders Board.
- Wyrmbones: The Border – Game Jam Entry
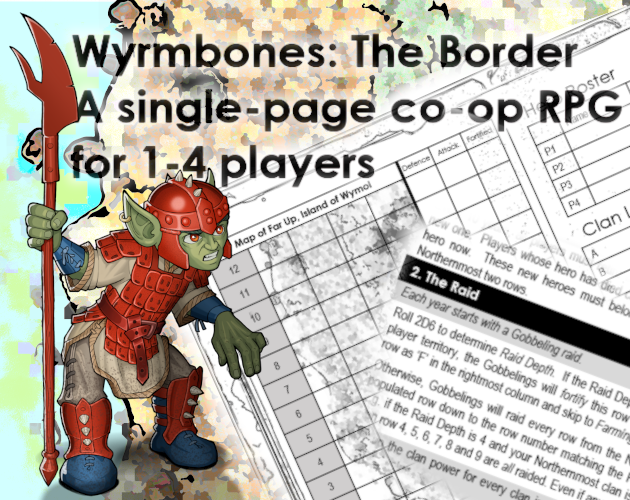
This week, we have submitted Wyrmbones: The Border to the One Page RPG Game Jam on Itch.io. This our first Wyrmbones release and the first release with the artwork commissioned from Joe Nittoly.
There will be more releases from the Wyrmbones setting coming soon. Including a wargame and our long-term project of an epic adventure/RPG.
We have been busy with the One-page Jam and the 18-card RPG Jam over at buttonshy. However with no new jams on our radar, we’re back to core projects.
- Links to Millitown files
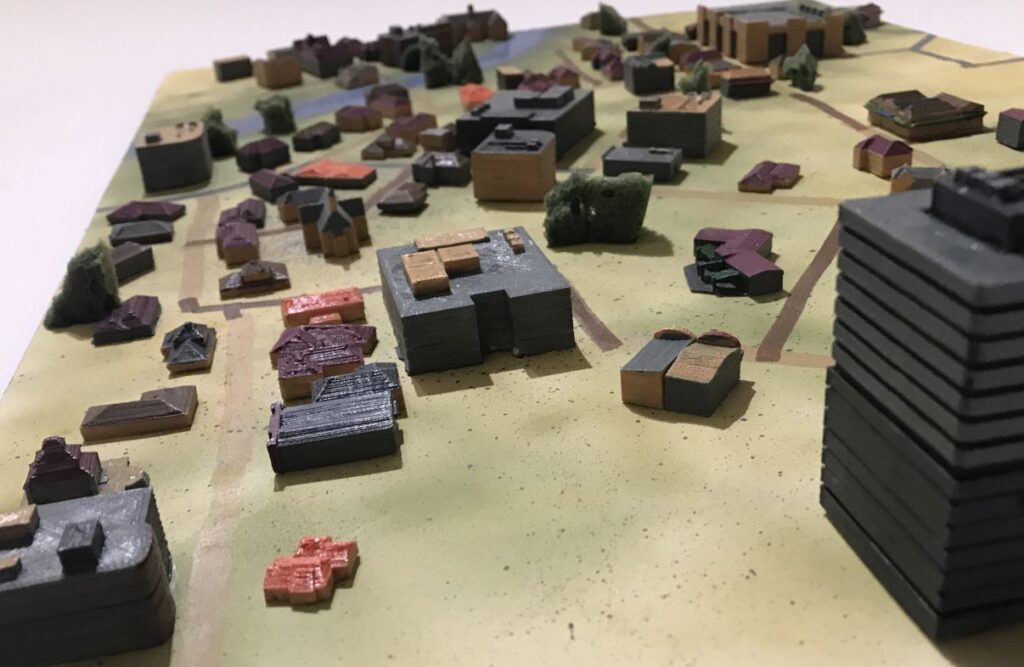
Do you need to 3D print tiny buildings for a game prototype or just for fun?
We have you covered: check out the Millitown STL files and random building generator.
- The Dunginoes Theme Tune
The Children of the House have instructed me to tell the Internet at large of the Dunginoes Theme Tune.
Dunginoes!
Nobody knows…
how far it goes!
When daddy throws!
Dunginoes!And then you have to… throw the box. This is only slightly less fun than the game itself. Especially when the cards go into the heating ducts.
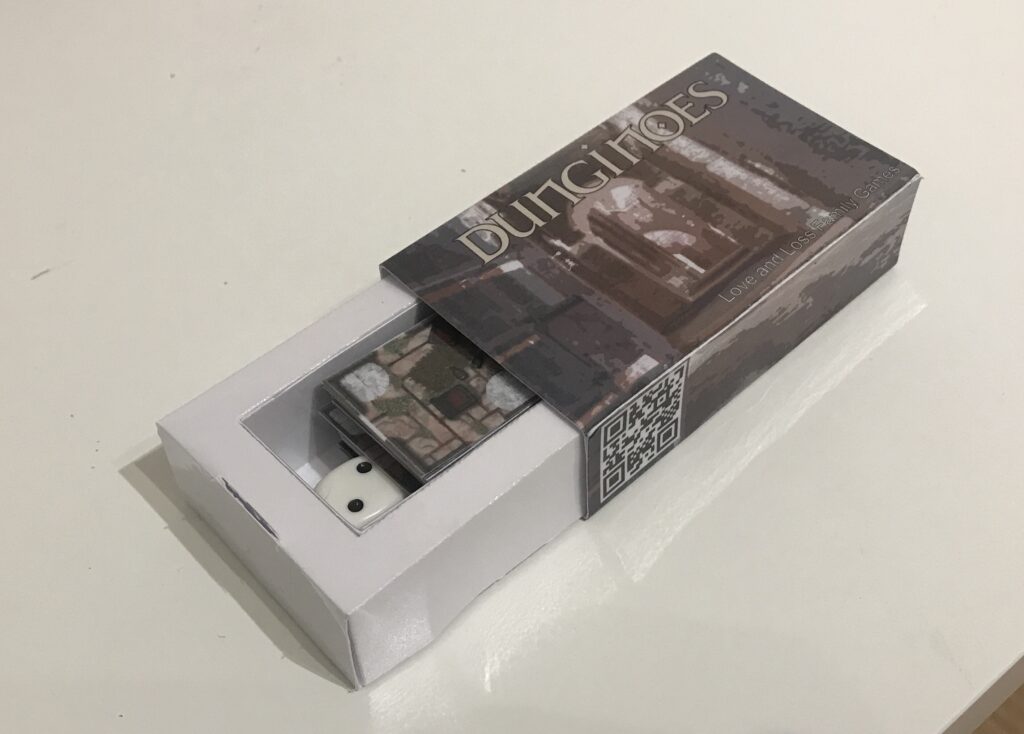
Dunginoes is still free I’ll add a box to the downloads when we’ve put together some nicer art for it. The one above is a combination of a passepartout frame and a matchbox sleeve courtesy of https://www.templatemaker.nl/
I can’t remember where the photo originated from hence I don’t want to release it as-is.
- Dunginoes Update
Back in October, we mentioned that we were developing an light dungeon crawl based on a Reddit post.
The rules have been tested and we have created some themed dominoes to go with.
As a bonus, we have also included some ideas for using dominoes for random map generation in traditional RPGs.
Check it out now: Dunginoes – A PVE Crawler.
- Making (boxed) escape rooms
As alluded to in this post, I put together a boxed escape room for a Christmas party that would have otherwise been just a pub lunch. At least we were out of lockdown enough for that.
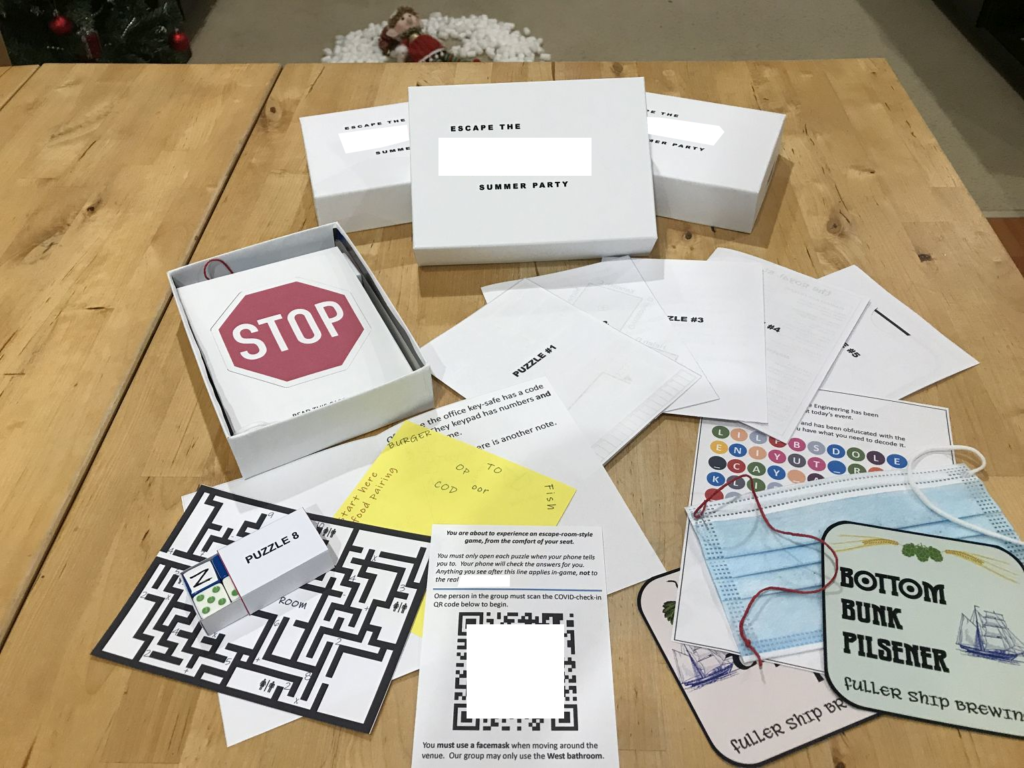
Components of the escape experience. This will be a summary of what went into that escape room project, including seven of the puzzles.
Premise
The puzzle had a loose story of ‘you are at this party, but the staff are hostile, plus there are COVID regulations to deal with.’ The story was not as important as the puzzles – this was after all a social event for people who were just expecting a few beers.
Execution
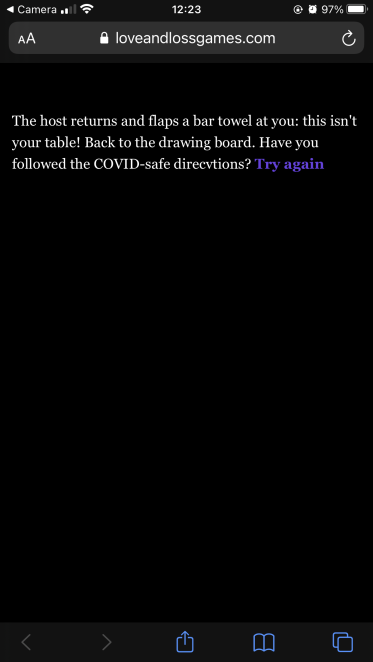
A small boxed escape room doesn’t usually have space for physical locks, keypads, etc. Another method is needed to check answers. In this case, I built a self-contained interactive webpage using Twine and hosted it here. The first item in the box was a QR code (in-game as a COVID check-in) linking to the Twine page.
Twine has a bit of a learning curve to it. There may have been some better options – maybe there is a wordpress plugin that does what I wanted, but I could not find it at the time.
Because the Twine app was checking the answers, I was not limited to thinking in four-digit codes, like several of the games on the market. Several of the answers were free text. It was important to make sure the users are told exactly what to type in – no interpretation or parsing needed. They were verbatim copying text that they had found. The Twine app was made to check the answers in a case-insensitive way.
The puzzles themselves were each on a folded paper. In some cases, extra components were folded inside. The papers were designed in Powerpoint. This allowed me to keep and manage a consistent style and layout. Plus the tools for drawing simple shapes were very handy.
The boxes were from EXIT boxed escape rooms that I’d completed and kept. A4 full-page stickers were just big enough to re-wrap the outside with my own design. Mostly white to keep it simple. I did have to add tape to the long edges, to keep them from lifting off.
Summary of the puzzles
Box contents:
- Eleven numbered puzzle sheets, folded, some containing extra components
- Pencil
- Medical facemask, one earloop replaced by a red thread
- A box containing six dice, labelled ‘Puzzle 8’
Puzzle 1 – How do you even get to this place?
The first puzzle is to get the gamers to start using various contents to solve the puzzles. This was a map with the route to the venue marked in red, with a scale alongside. The premise being that the boss wants to know how far the venue will be.
The solution is simply to use the red string from the facemask to trace along the route.

Partial image of the map sheet Puzzle 2 – Find the table number
This puzzle combines a few things:
- Instruction from the start of the game ‘use your facemask when moving around the venue’
- The text of the challenge itself ‘visit the other staff in order to find the table number, remember your contact tracing’
- A seating diagram with people’s names
- The pencil
Here, ‘in order’ means alphabetical order and ‘contact tracing’ means to draw the path around the tables. The drawing will show a number. BUT it will be gibberish without using the facemask. Hidden in the pleats of the facemask were instructions to skip certain staff members. Hence, the gamers have to ‘use the facemask’ in order to get the answer.

Puzzle 2 – obfuscated to hide the names Puzzle 3 – The wrong menu
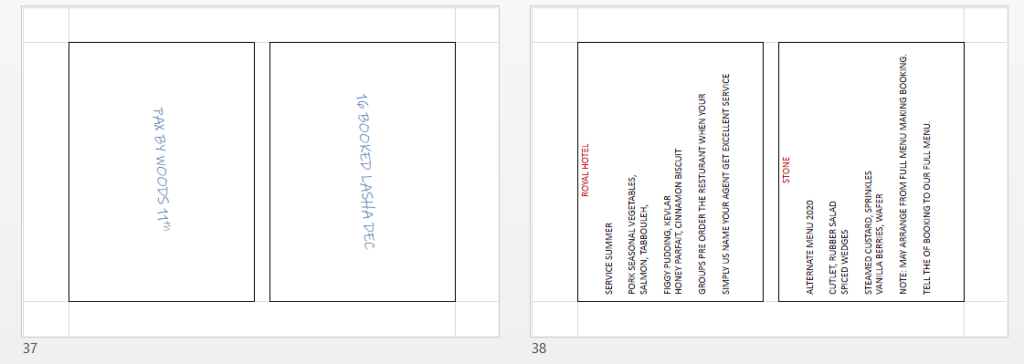
This one is a lesson in patience. Plus it’s something uniquely Australian. The staff have been mistakenly given the alternative drop menu. (This is where a party is catered by having two different dishes – say chicken and fish – and these are handed out to every other person: chick, fish, chicken, fish, chicken, fish. People can swap to get what they want. Apparently this is only a thing in Australia.)
In this case the ‘alternate drop menu’ was two bits of paper which form a complete menu when read alternately from each paper . It concludes with a note that the gamers must use the name of the booking agent in order to see the a la carte menu
This name is ‘hand’ written on the back of the menus. Also in alternating format.
Puzzle 4 – Special menu
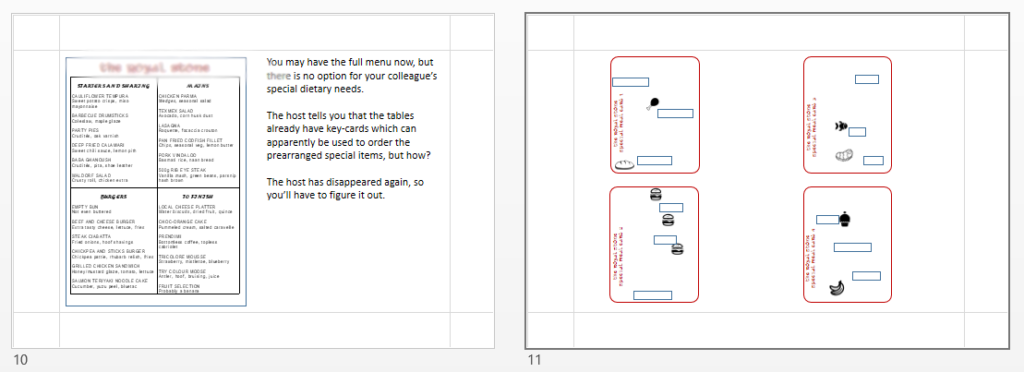
Now the guests have the a la carte menu, they have to find the special meal option for that one person. They have been given some access cards for this.
The premise is weak, but the puzzle was fun. Position the food icons on the cards over the words on the menu and read the words through the holes in the cards
This was made easier by having the menu quartered into rectangles the same size as the cards themselves. For a more hard-core audience, I would make the placement more arbitrary.
Puzzle 5 – Stacking beermats
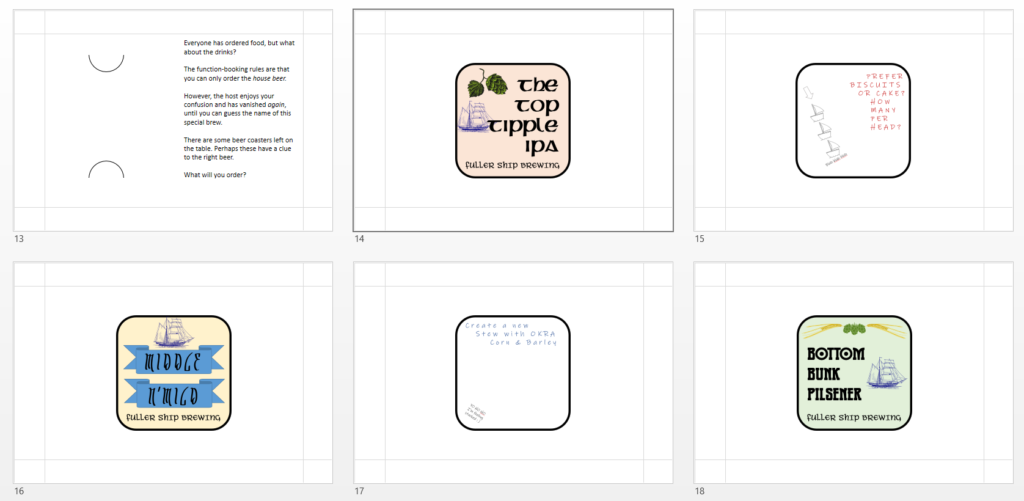
Another slightly weak premise for a fun puzzle. The host won’t tell the players the name of the house beer. They have to deduce it from the beermats, from the Fuller Ship Brewery.
The scribbles on the back of the mats give the clue to stack mats so that the ships (on the front of each mat) on top of each other, then flip the stack. Then the scribbles combine to name the house beer.
The beers named on the front of the mats are Top Tipple, Middle Mild and Bottom Bunk, which is the clue about what order to stack them.
This is one that the gamers all struggled with. I think more clues would have helped. They were also about three pints in at this stage though.
Puzzle 6 – Bathroom maze
In this puzzle, the gamers have to solve a maze that contains an equation along the route.

This place is a maze That in itself is easy, as long as they remember BODMAS. However, this puzzle has a few callbacks and gotchas:
- They are moving around the venue, so they have to use the mask. The message in the mask says to ‘add 1 for number one…’. The Twine app will accept both +1 and +2 answers, with a different ‘correct’ message in each case.
- The initial instruction card says they have to use the West bathroom only.
- How do they know which way is West? I tore off a corner of the map and taped it to the inside of the box lid. The lid itself has compass points marked on it. When they find the missing corner, they find the solution.
Puzzle 10 – The code from the bar
Skipping a few puzzle that are unique to my company. Near the end of the run, the games have to find a code. This is and oldie, but a goodie.

Where is the bar code? Spoiler alert: When I printed the box wraps, I put a barcode on them. Breaks the fourth wall just a bit.

Bah! Code! Summing up
So that’s what I put together this year. The key things that I think other amateur escape room designers should take away are:
- The game’s puzzles were printed out on folded paper. There’s no real need to make a complicated card system for a managed event.
- A mobile website can be easy to setup and will automate the answer checking – it can also automate giving out clues when a wrong answer it put in. I noticed that on this occasion, people never actually put wrong answers in: They either confidently arrived at the right answer, or were still puzzling.
- Several of the puzzles used callbacks to previous information. Gamers enjoy when this happens because it makes them feel clever without having to do a lot of crunching. The best puzzles were simple to solve as long as all information was considered.
- I used wordplay for a few puzzles, where a clue is given when considering alternate meanings of a word or phrase. In this setting, that didn’t pan out so well: People skimmed the puzzle text and went right into the solving. I had to prompt people to re-read when they got stuck.
I hope this article is of use to people who are considering putting together an escape room or other puzzle experience in future. Hit me up on Twitter if you have any comments.
- Missed the deadline for a home-made game this year
Best wishes for a successful 2021!
I spent the run-up to Christmas working on a boxed escape room game to hand out at the office Christmas party. It went down well, considering the state had just come out of a long lockdown.
However in putting that together, I ran out of time to complete the kids Christmas present game this year. Therefore, the prototype of Project-FND is on back the shelf until I get some more free time: It’s all the cutting that takes ages. The craft cutter doesn’t handle 5mm foam-core, sadly.
I want to take a moment to recommend the Asset Forge on itch.io for anyone looking to put some quick designs together for mechanical stuff like these spaceships and their hardpoints. No, I’m not getting royalties – it’s just a good tool that I want to recommend.
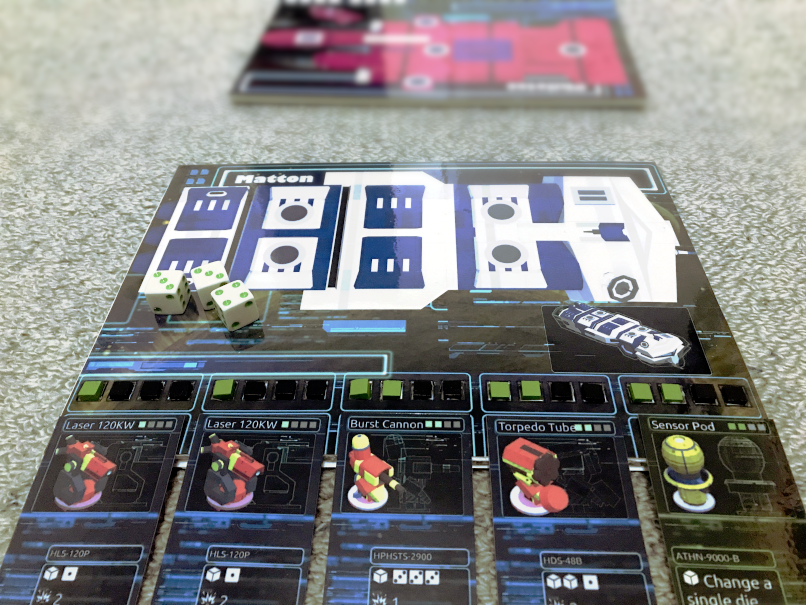
Project-FND – first serious prototype. 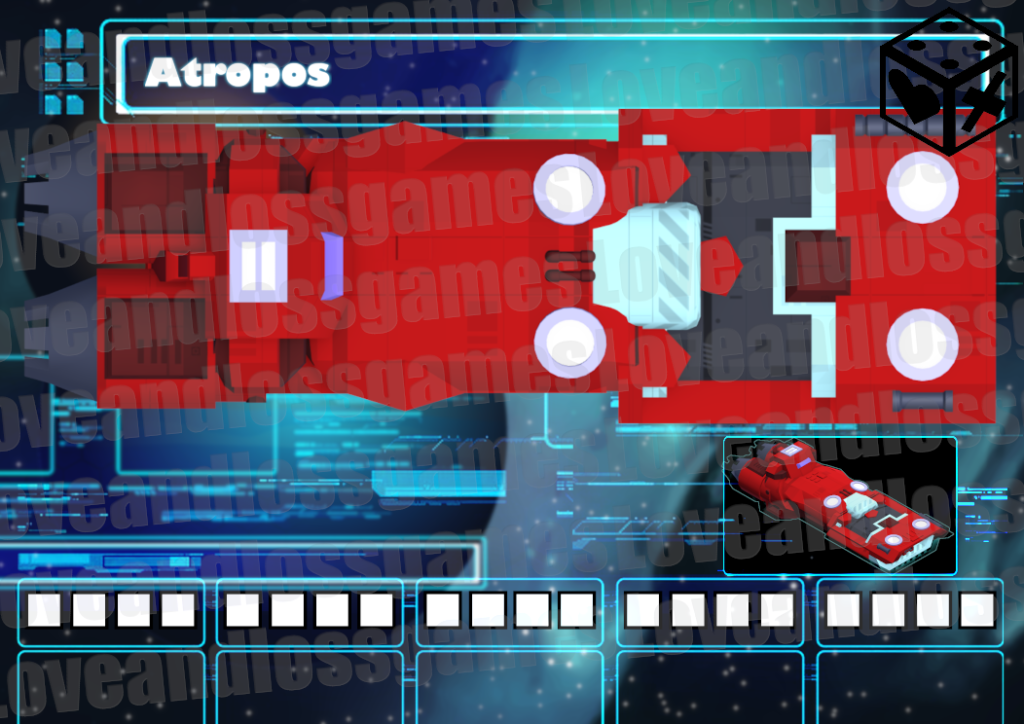
A player board design. Showing off the cool spaceship designs that I chucked together with Asset F.orge 
Components of the escape experience. Not all 11 puzzles shown here. - Dunginoes – a fast, random dungeon crawl
We joined in a reddit discussion about dungeon crawlers yesterday. We posted some simple rules for a ‘no-print; just play’ random dungeon crawl.
Playtesting in earnest today to get a bit of balance.
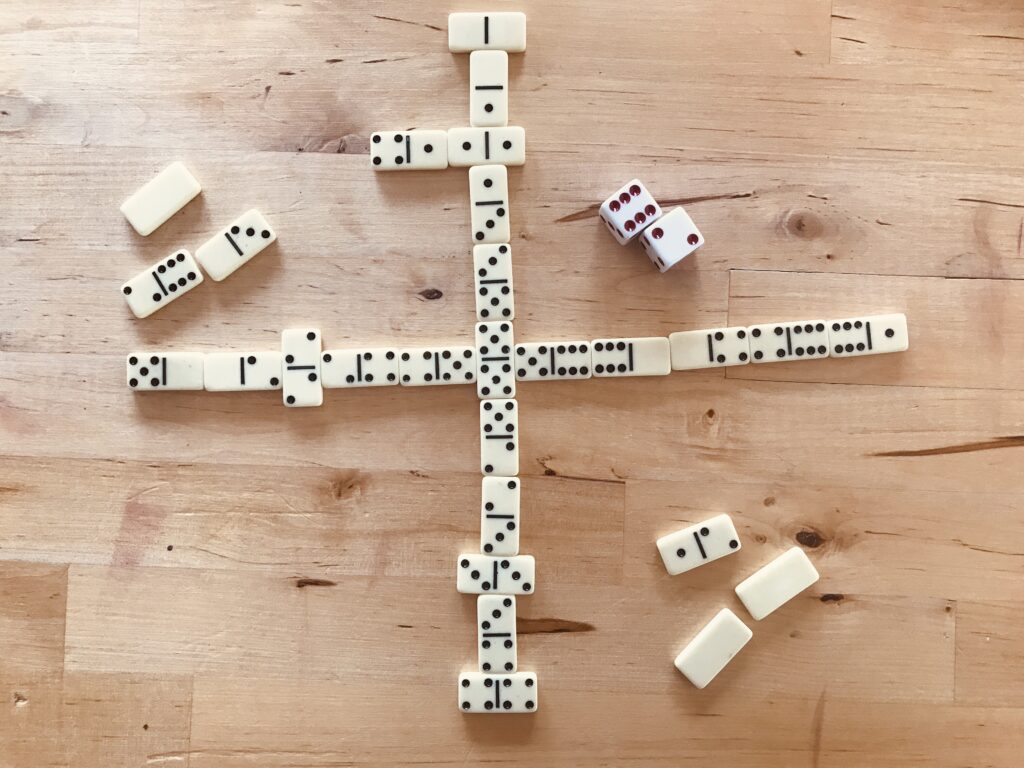
Would you believe that this is the castle of the golem lord? The dungeon boss will needs a roll of fourteen or above, including loot modifiers… good luck with that! Now we’re making dungeon-themed domino tiles as a family project.
We’ll release them and a stronger rules write-up soon.
- Cutting card sheets for prototype and PNP games
We have been printing PNPs and our own prototypes for a fair number of years. This article is my own take on what works best when cutting several cards/components from printed sheets.
As a side note: we do our earlier prototypes, or quick jobs on 180gsm A4 photo paper. Our final prints are on 250gsm double-sided photo paper.
Laminate vs Sleeve
Cards can be in all sizes and it’s not ideal to have sleeves of every size. We either go naked, or use the laminating machine.
Laminated sheets that bit harder to cut, but the laminate protects the printing from scratches during the process. We found that laminated sheets are hard to cut using out automatic craft cutter.
Tip for laminating: if the cards are big enough that they won’t get stuck; run them individually through the laminating machine after cutting. Edges often come unstuck with the force of cutting and this helps to re-seal them.
Cutting with a guillotine
The desktop guillotine will make a very straight cut. This is great when we are able to position the workpiece correctly.
Almost all guillotines have a side edge guide, so that the cut is definitely at 90 degrees to one edge. As some printers don’t feed perfectly, we don’t always rely on it. Even more so with laminated work as the edge of the laminate may also be slightly misaligned to the printing.
More important than a side guide is a good cutting guide. It is important to be able to see where the blade will fall. Unfortunately a lot of the models on the market do not have a great cutting guide.
A decent bleed on the artwork will prevent the art being cut off. A bleed does not do anything about inconsistent sizes or corner angles.
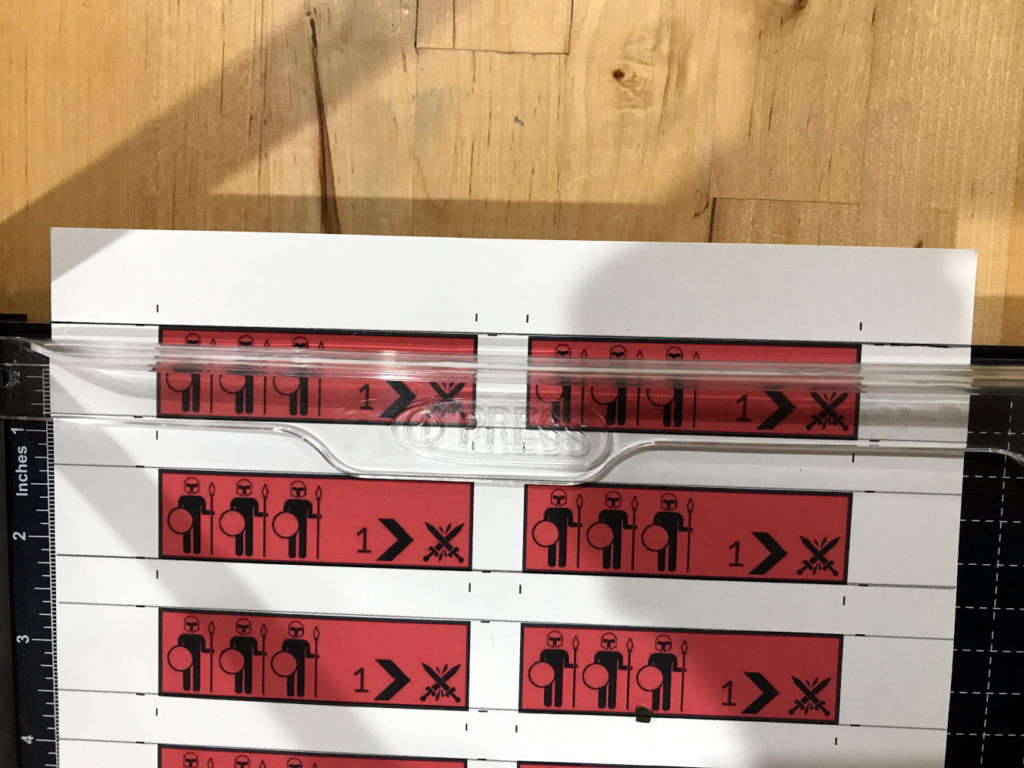
Guillotine protip. If the guillotine does not have a have good cutting guide: Extend the registration lines on the printed work to the paper edge. If the original artwork can’t be edited directly, just extend the lines with pen and ruler after printing.
This way, the work can be aligned to the bottom edge of the guillotine without a top cutting guide.
The guillotine can cut sheets in multiple stacks, which can speed things up. However we’ve had enough problems with alignment that we tend to not do this unless the art is very simple. All-white cards with images only in the middle for example. Something worth considering for early prototypes.
Craft Knife (and Steel Ruler)
A replaceable-blade craft knife is cheap and easy to maintain, but there is more skill required.
A guillotine will sometimes fold/fray the work instead of cutting it properly. We don’t have that problem with the craft knife. On the other hand, the work sometimes slips and the line goes awry.
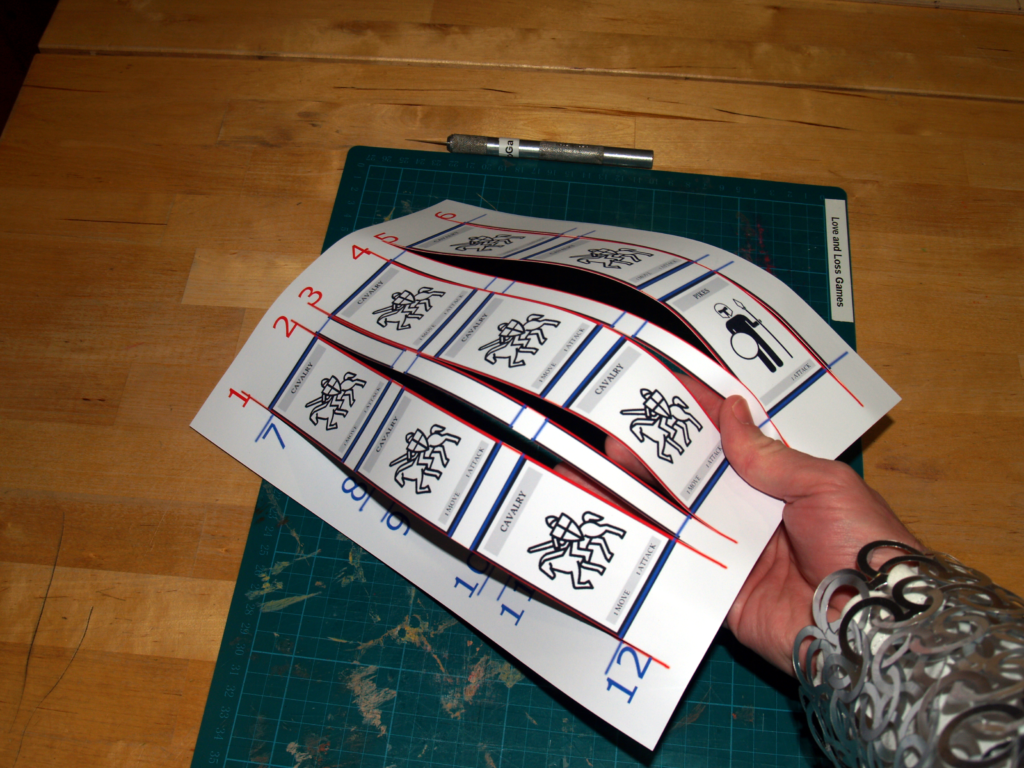
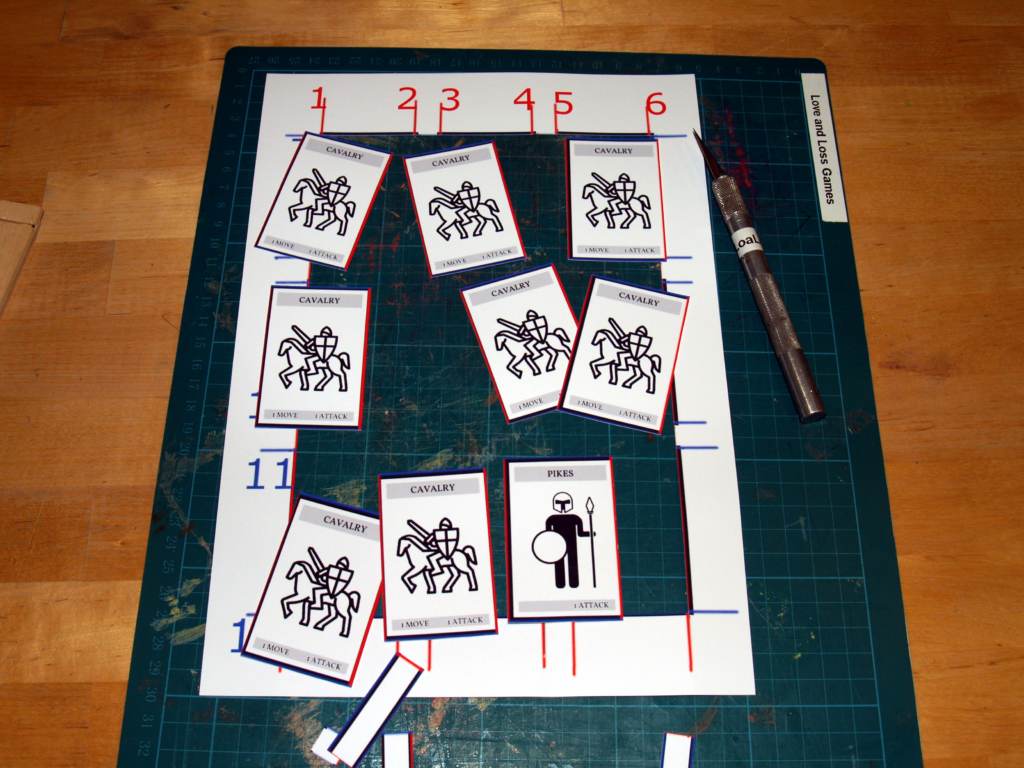
We use a specific cutting order with a craft knife: Cut all one direction first then the other directions and do not cut to the sheet edge. Keep the components together as long as possible. With this method (and steady pressure on the ruler) the components on a sheet will be consistent and straight.
Our preferred cutting order. Note the chain mail for safety. A sheet of 9 cards requires 12 cuts (with the above method)
The Automatic Craft Cutting Machine
We were excited to get a craft cutter. We could setup a template just once for a given card size and cut any sheet using that one template.
The software can add registration marks to the printing so that the machine knows exactly where to cut.
The machine has been great in certain circumstances, but really failed in others. It does good edges and rounded corners. alignment is generally spot-on so we get consistent sizing and intact artwork.
However: The work tended to slip without the sticky cutting mat. The mat can’t be used with double-sided prints – or even paper that is coated on two sizes. The printing and coating gets left behind on the mat.
Laminating our prints stops the sticking problem, but the cutter is unable to get through both sides of the laminate; it seems to deform rather than cut. With about twenty passes, the cutter gets through but also makes a mess of the sticky mat. We’re experimenting with alternating the deep-cut blade with the standard one. The wider deep-cut blade opens the cut up a bit more allowing the narrower blade to get down into it.
So we say that the automatic machine makes perfect cuts pretty quickly, but not for all types of material. Costs a bit as well.
Honorable mention: corner clipper
Naked cards suffer from edge crumple, so if you want the components to last: round off the edges.
Neither a guillotine nor the craft knife are much good at consistent rounded corners.
A specialist corner clipper is a good choice for this. It’s a small cheap device that rounds of one corner at a time. A bit tedious, but nice and consistent. We are lucky enough to have a corner clipper built into our guillotine. We use that even when knife-cutting.
Rounded corners are a must-have for laminated cards because of the sharp edges.
Closing
There isn’t an overall ‘best’ option. Anyone who is just starting out with a few ideas can get very far with just the knife and a corner clipper. There’s no need to progress beyond this unless you’re making components in large volumes.
- ROUT! is OUT!
Project-R is revealed today: Real name: ‘ROUT!’
ROUT! is released as a free PNP, under a creative commons license.
This game is a light-hearted dexterity game that uses wooden blocks as medieval army units. Hit the opponent’s blocks to break their morale, then knock them off the table to rout them out of the game!
There is a chaotic element as the order that you can move troops is random. You can rally troops back to active, but there is no way to check which unit you are actually rallying!
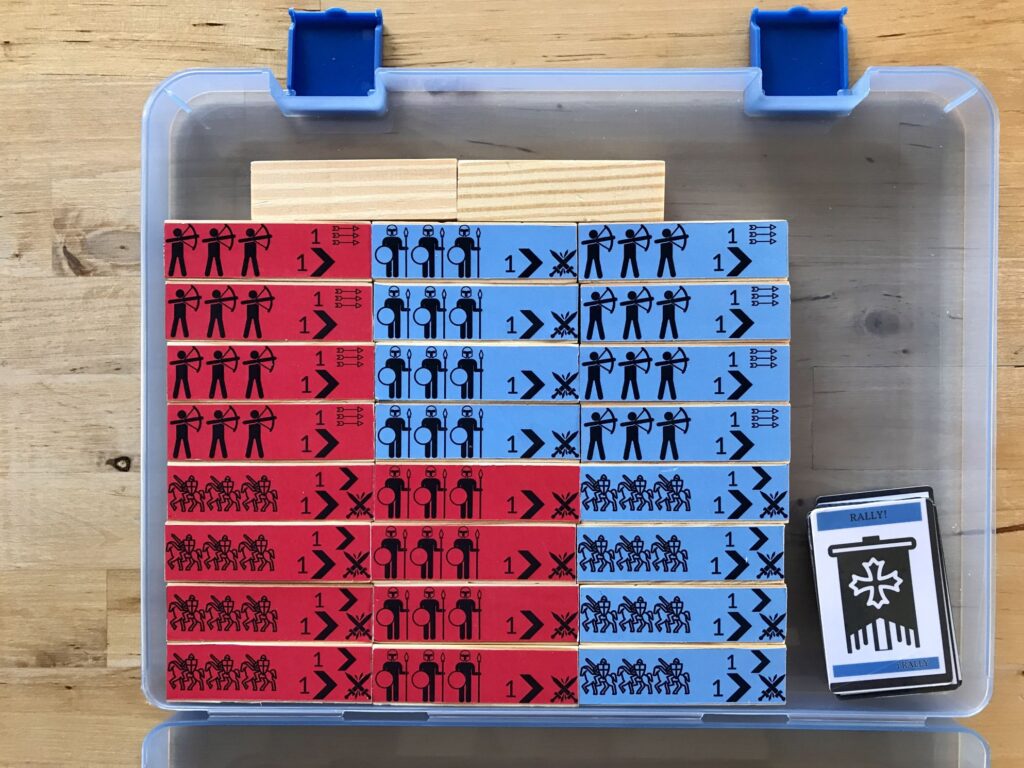
Half a ROUT! set. 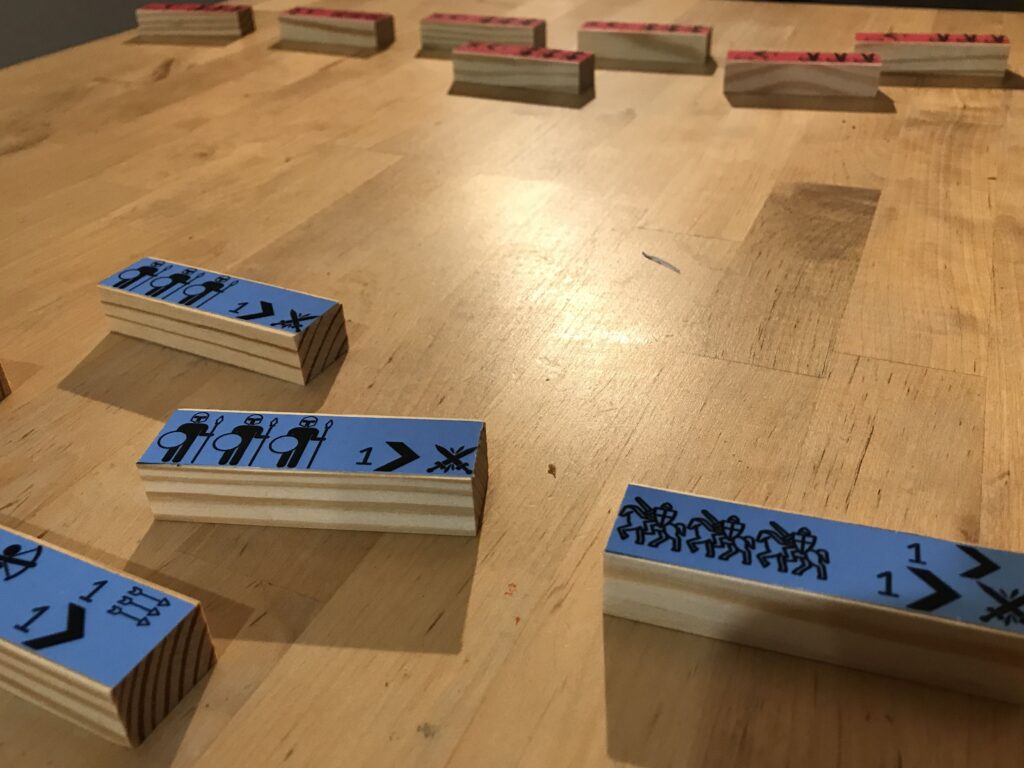
A view from behind the Blue battle lines. 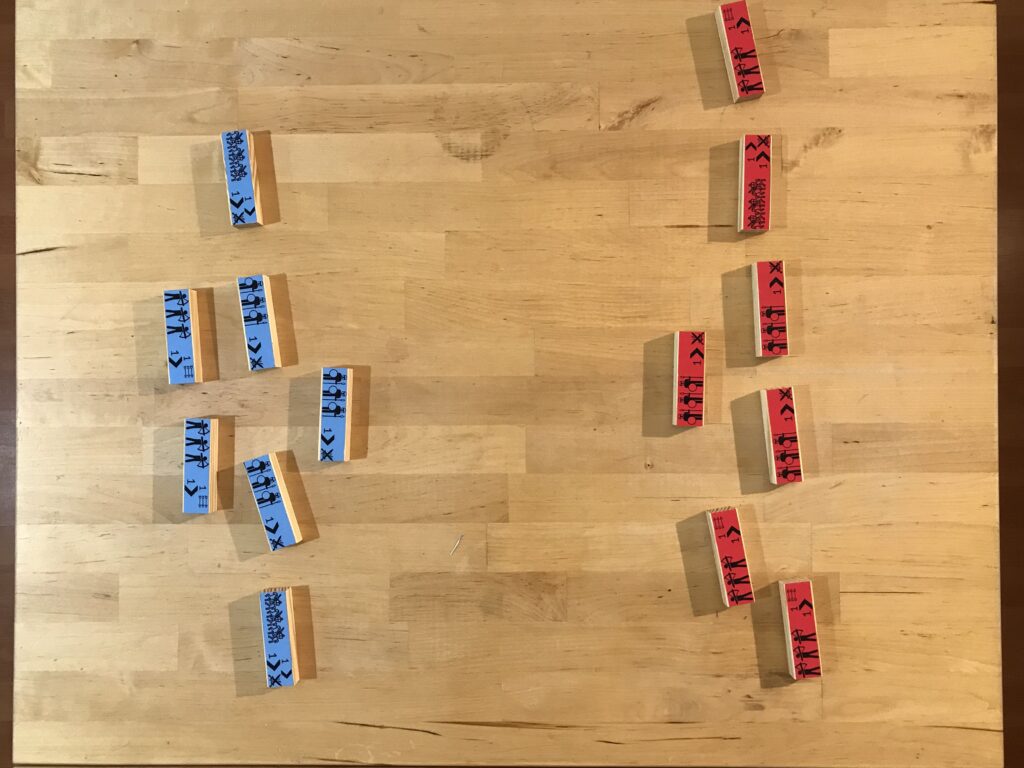
ROUT! red and blue unit blocks at the start of play.
Go ahead and visit the game page.
- PROJECT-R: Not long now
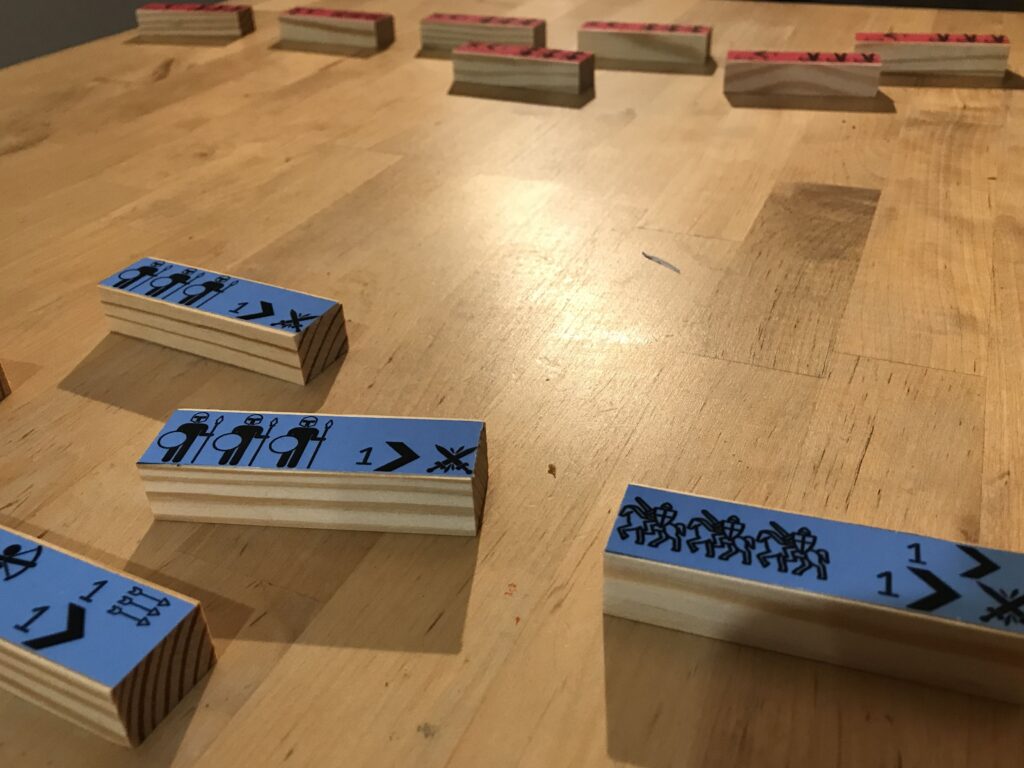
The first free PNP release, codename PROJECT-R is one step closer: Licensed the art and now need to tidy up the files and write assembly instructions.
PROJECT-R is a dexterity game of medieval battlefields. We created this because we love the grand battlefield theme, but don’t want to get tied up with rules, dice, range rulers, and all that.
Fair warning; in order to print and play this title, you’re going to need a spare brick-tower game (e.g. Jenga or a copy) and printable sticker paper. Two full-page A4 labels are needed – or use normal paper and glue.


