We joined in a reddit discussion about dungeon crawlers yesterday. We posted some simple rules for a ‘no-print; just play’ random dungeon crawl.
Playtesting in earnest today to get a bit of balance.
Would you believe that this is the castle of the golem lord? The dungeon boss will needs a roll of fourteen or above, including loot modifiers… good luck with that!
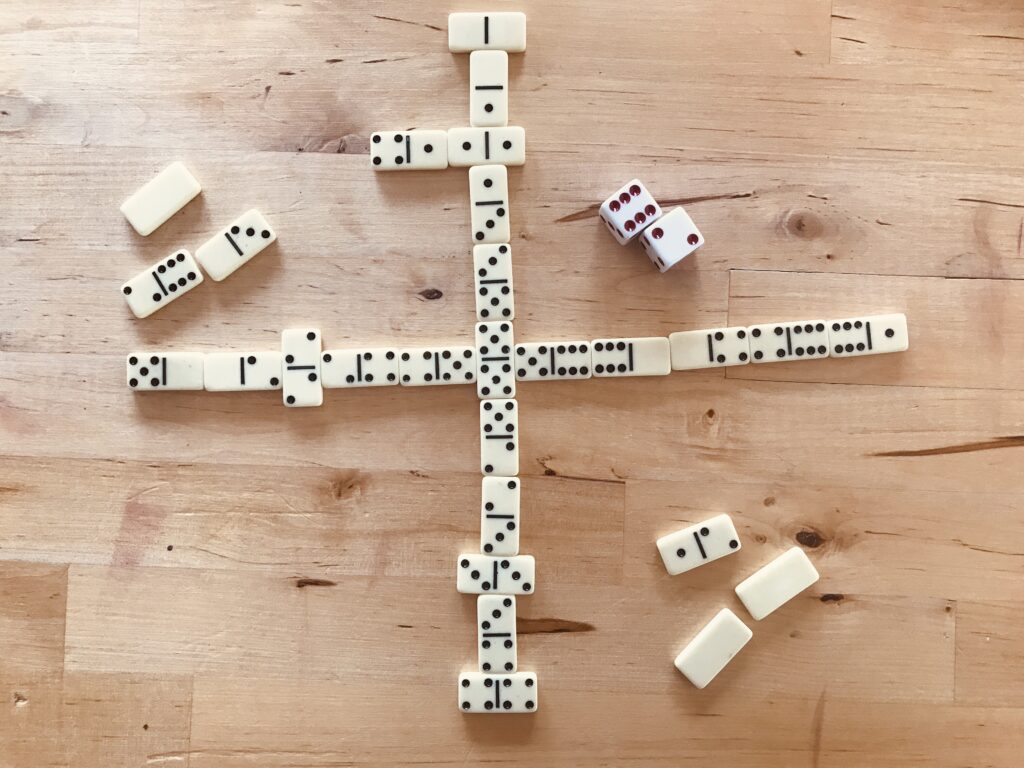
Now we’re making dungeon-themed domino tiles as a family project.
We’ll release them and a stronger rules write-up soon.
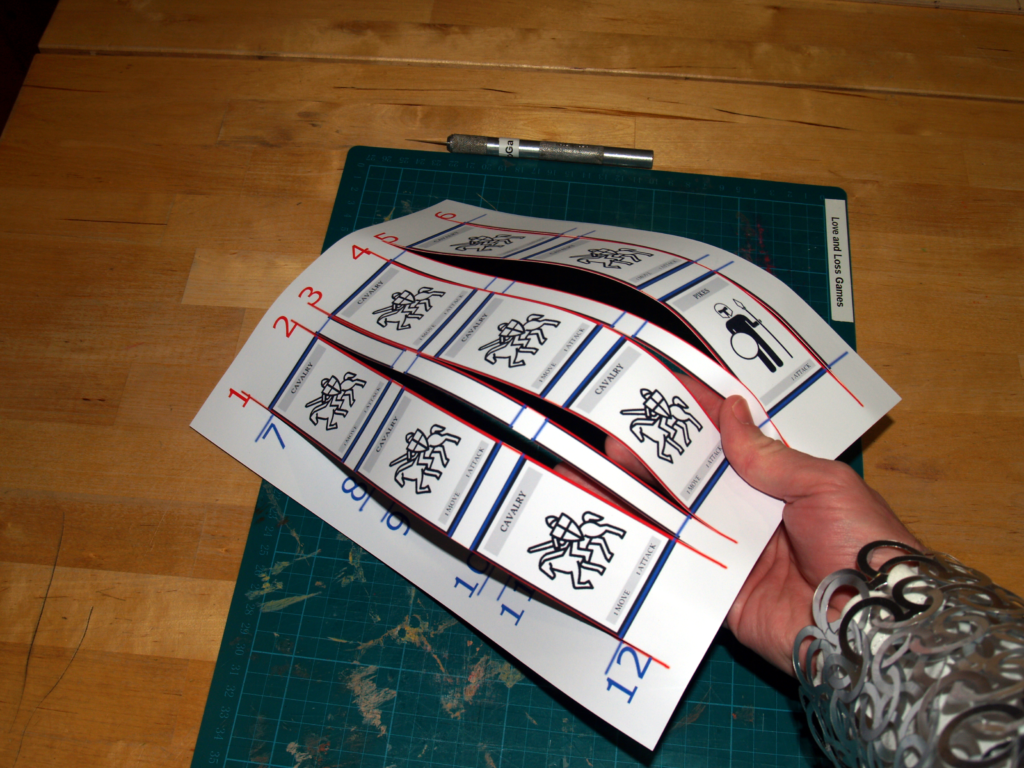
We have been printing PNPs and our own prototypes for a fair number of years. This article is my own take on what works best when cutting several cards/components from printed sheets.
As a side note: we do our earlier prototypes, or quick jobs on 180gsm A4 photo paper. Our final prints are on 250gsm double-sided photo paper.
Laminate vs Sleeve
Cards can be in all sizes and it’s not ideal to have sleeves of every size. We either go naked, or use the laminating machine.
Laminated sheets that bit harder to cut, but the laminate protects the printing from scratches during the process. We found that laminated sheets are hard to cut using out automatic craft cutter.
Tip for laminating: if the cards are big enough that they won’t get stuck; run them individually through the laminating machine after cutting. Edges often come unstuck with the force of cutting and this helps to re-seal them.
Cutting with a guillotine
The desktop guillotine will make a very straight cut. This is great when we are able to position the workpiece correctly.
Almost all guillotines have a side edge guide, so that the cut is definitely at 90 degrees to one edge. As some printers don’t feed perfectly, we don’t always rely on it. Even more so with laminated work as the edge of the laminate may also be slightly misaligned to the printing.
More important than a side guide is a good cutting guide. It is important to be able to see where the blade will fall. Unfortunately a lot of the models on the market do not have a great cutting guide.
A decent bleed on the artwork will prevent the art being cut off. A bleed does not do anything about inconsistent sizes or corner angles.
Guillotine protip. If the guillotine does not have a have good cutting guide: Extend the registration lines on the printed work to the paper edge. If the original artwork can’t be edited directly, just extend the lines with pen and ruler after printing.
This way, the work can be aligned to the bottom edge of the guillotine without a top cutting guide.
The guillotine can cut sheets in multiple stacks, which can speed things up. However we’ve had enough problems with alignment that we tend to not do this unless the art is very simple. All-white cards with images only in the middle for example. Something worth considering for early prototypes.
Craft Knife (and Steel Ruler)
A replaceable-blade craft knife is cheap and easy to maintain, but there is more skill required.
A guillotine will sometimes fold/fray the work instead of cutting it properly. We don’t have that problem with the craft knife. On the other hand, the work sometimes slips and the line goes awry.
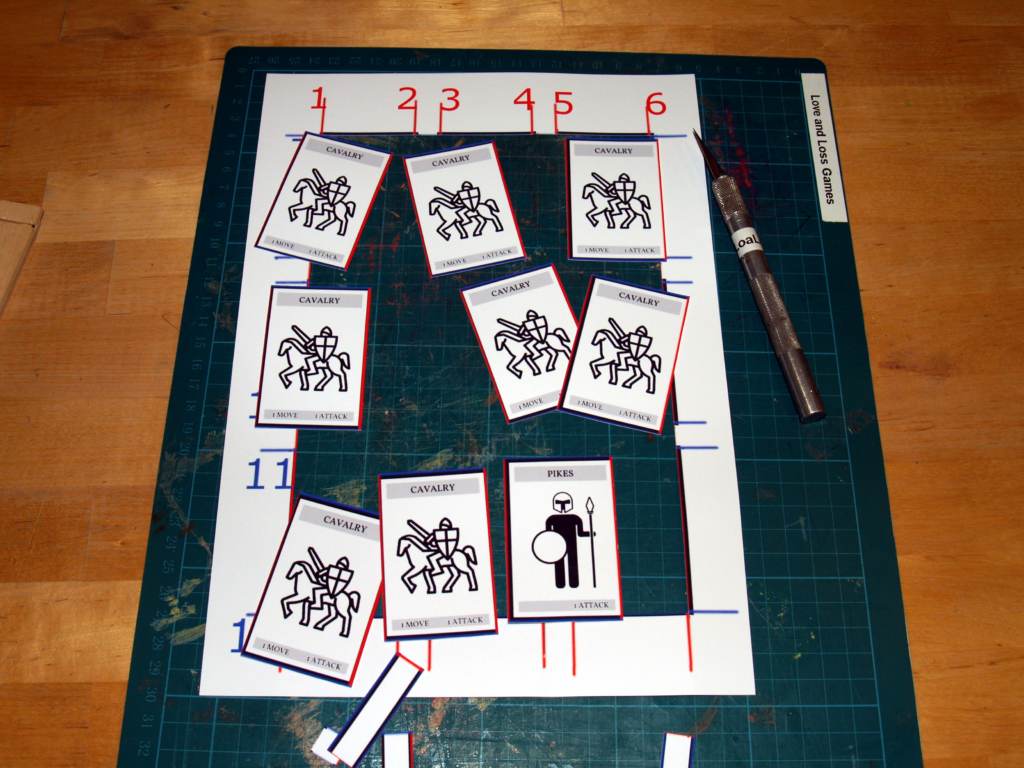
We use a specific cutting order with a craft knife: Cut all one direction first then the other directions and do not cut to the sheet edge. Keep the components together as long as possible. With this method (and steady pressure on the ruler) the components on a sheet will be consistent and straight.
Our preferred cutting order. Note the chain mail for safety.
A sheet of 9 cards requires 12 cuts (with the above method)
The Automatic Craft Cutting Machine
We were excited to get a craft cutter. We could setup a template just once for a given card size and cut any sheet using that one template.
The software can add registration marks to the printing so that the machine knows exactly where to cut.
The machine has been great in certain circumstances, but really failed in others. It does good edges and rounded corners. alignment is generally spot-on so we get consistent sizing and intact artwork.
However: The work tended to slip without the sticky cutting mat. The mat can’t be used with double-sided prints – or even paper that is coated on two sizes. The printing and coating gets left behind on the mat.
Laminating our prints stops the sticking problem, but the cutter is unable to get through both sides of the laminate; it seems to deform rather than cut. With about twenty passes, the cutter gets through but also makes a mess of the sticky mat. We’re experimenting with alternating the deep-cut blade with the standard one. The wider deep-cut blade opens the cut up a bit more allowing the narrower blade to get down into it.
So we say that the automatic machine makes perfect cuts pretty quickly, but not for all types of material. Costs a bit as well.
Honorable mention: corner clipper
Naked cards suffer from edge crumple, so if you want the components to last: round off the edges.
Neither a guillotine nor the craft knife are much good at consistent rounded corners.
A specialist corner clipper is a good choice for this. It’s a small cheap device that rounds of one corner at a time. A bit tedious, but nice and consistent. We are lucky enough to have a corner clipper built into our guillotine. We use that even when knife-cutting.
Rounded corners are a must-have for laminated cards because of the sharp edges.
Closing
There isn’t an overall ‘best’ option. Anyone who is just starting out with a few ideas can get very far with just the knife and a corner clipper. There’s no need to progress beyond this unless you’re making components in large volumes.